
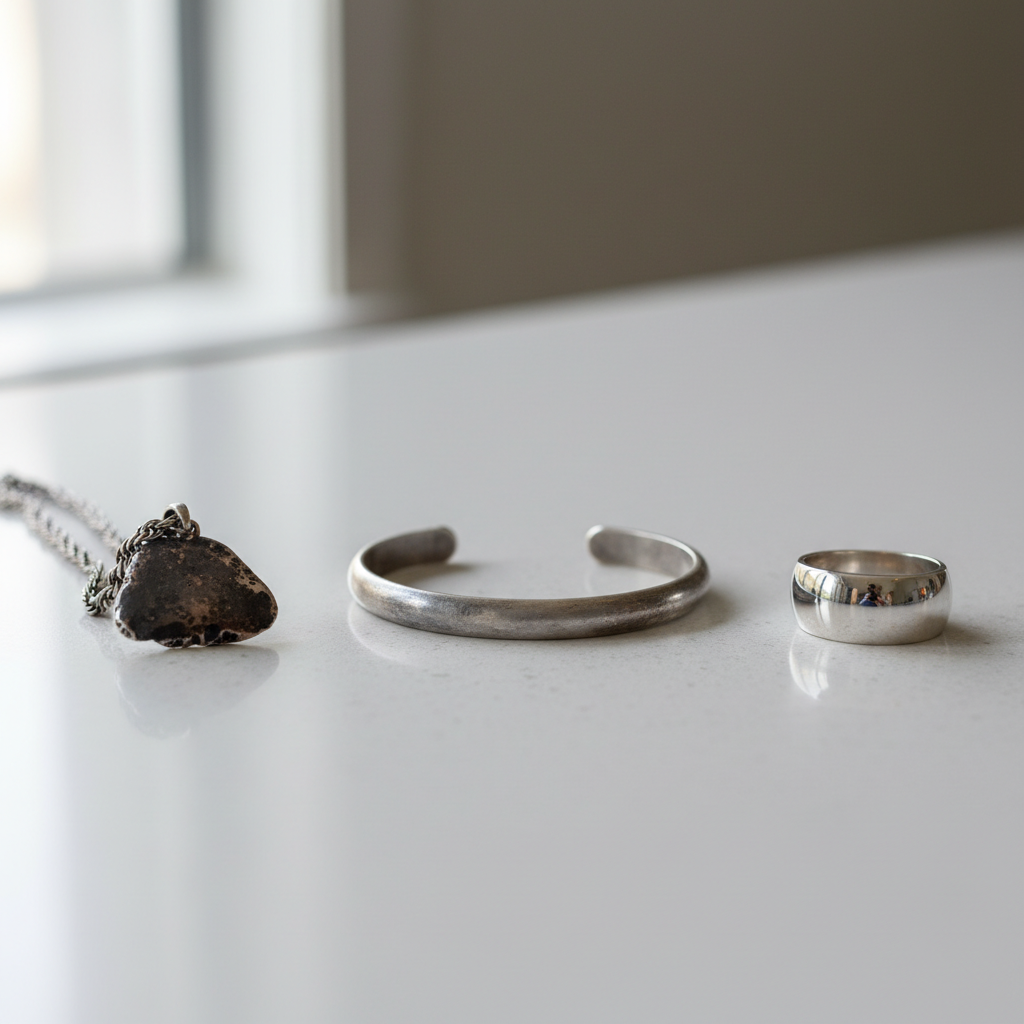
If you’re searching how to clean jewelry at home silver, the real goal is simple: remove tarnish and grime without scratching soft metal or loosening stones.
Silver is a little dramatic, it reacts with sulfur compounds in air, lotions, and even some household cleaners, so “clean” can mean two different problems: dark tarnish on the surface, or built-up residue in crevices.
This guide helps you choose a method that fits your piece, your tools, and your risk tolerance, because a quick hack that works on a plain chain can be a bad idea for antique jewelry or anything with pearls.
Before you start: identify what you’re cleaning (and what you should avoid)
Most at-home damage comes from treating every “silver-looking” piece the same. Start with a fast check.
Quick ID checks
- Look for stamps: “925,” “Ster,” “Sterling” usually means sterling silver. “EPNS” or “silver plated” means a thin coating over base metal.
- Magnet test (light clue, not proof): solid silver is usually not magnetic, but clasps and springs can be. Don’t rely on this alone.
- Stone and material scan: pearls, opals, turquoise, amber, glued stones, and enamel need gentler methods.
What to keep away from silver (in many cases)
- Chlorine bleach and many harsh disinfectants
- Abrasive toothpaste or gritty powders that create micro-scratches
- Paper towels for polishing, they can be more abrasive than they feel
According to the Gemological Institute of America (GIA), jewelry cleaning should consider the specific gem and setting because some materials are sensitive to chemicals and abrasion.
Why silver turns dark so fast (and why “polish” isn’t always the answer)
Tarnish is a chemical reaction, not dirt. Sterling silver contains copper, and both can react with sulfur in air, rubber, wool, certain foods, and even some skincare products.
On top of that, daily wear adds an extra layer: sunscreen, hand cream, soap film, and skin oils. That residue can make silver look cloudy even before true tarnish shows up.
That’s why how to clean jewelry at home silver usually breaks into two tracks: remove residue gently, then handle tarnish with the least aggressive method that works.
Self-check: choose the safest cleaning method for your piece
If you do nothing else, do this quick sorting. It saves time and prevents “oops” moments.
- Plain sterling silver (no stones): mild soap wash, silver polishing cloth, or foil-and-baking-soda method if tarnish is heavy.
- Sterling with hard stones (diamond, sapphire, ruby): mild soap wash and soft brush, avoid soaking if the setting looks loose.
- Silver plated: soap wash and polishing cloth only, avoid aggressive tarnish-removal tricks.
- Pearls, opals, turquoise, amber, enamel: wipe-only approach, no soaking, no baking soda, no acidic cleaners.
- Antique or intentionally oxidized silver (dark recesses): avoid over-polishing, you can erase contrast that’s part of the design.
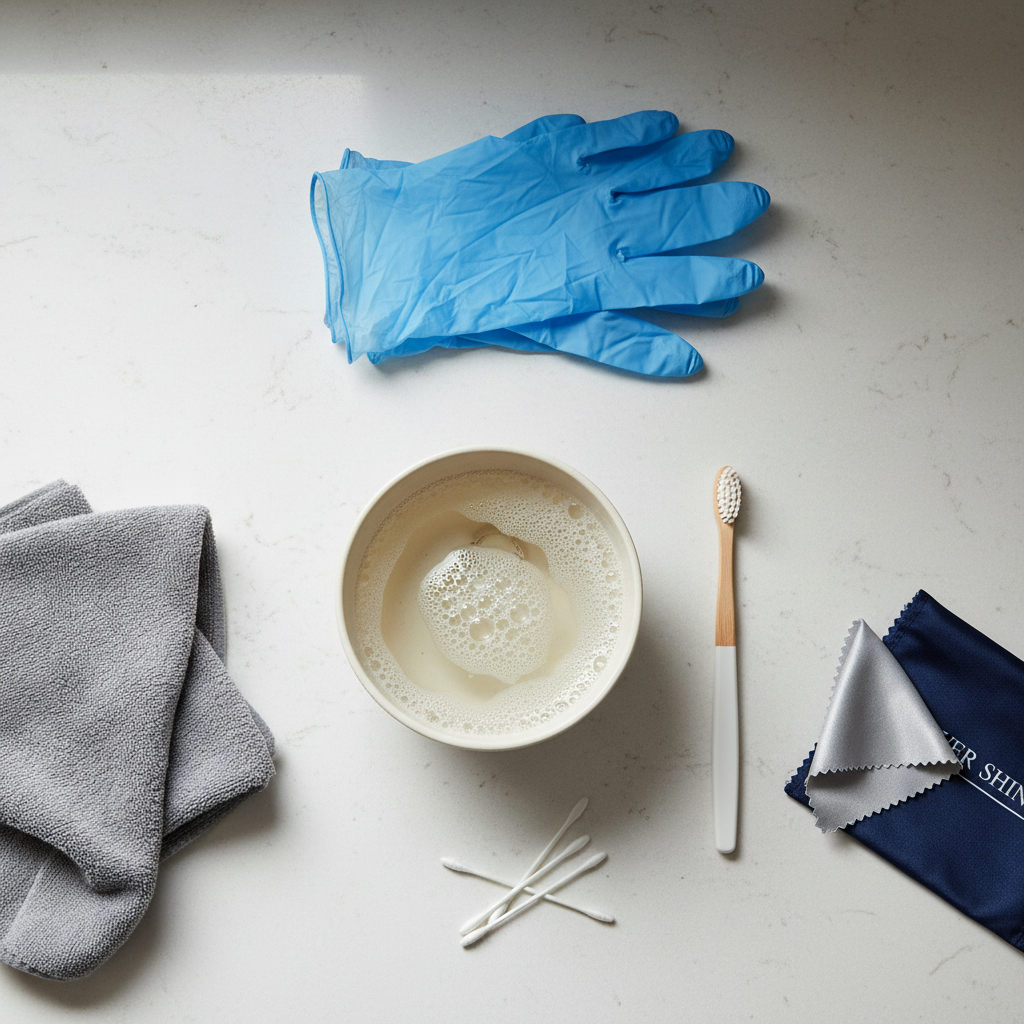
Method 1: Gentle soap-and-water clean (best first step for most pieces)
This is the “low risk, high reward” option. It removes residue that makes silver look dull, and it’s usually safe for many settings when done carefully.
What you need
- Warm water (not hot)
- A few drops of mild dish soap
- Soft toothbrush or baby toothbrush
- Microfiber cloth
Steps
- Mix warm water with a small amount of soap.
- Dip and swish the jewelry briefly, avoid long soaking if stones are glued or the piece feels delicate.
- Use a soft brush for crevices, light pressure only.
- Rinse with clean water, keep the piece over a bowl or strainer so it can’t slip down the drain.
- Pat dry, then air-dry fully before storing.
Key point: If the piece looks brighter after this, you may not need a tarnish remover at all.
Method 2: Silver polishing cloth (the everyday maintenance move)
A silver cloth is underrated. It’s controlled, fast, and you can stop exactly when the shine returns. For many people learning how to clean jewelry at home silver, this becomes the routine.
- Use the cloth on fully dry jewelry.
- Rub gently in straight strokes on broad surfaces.
- Use cotton swabs for tight details instead of digging with the cloth.
Heads up: polishing cloths are treated with cleaning agents, so wash hands after, and don’t use them on pearls or soft stones.
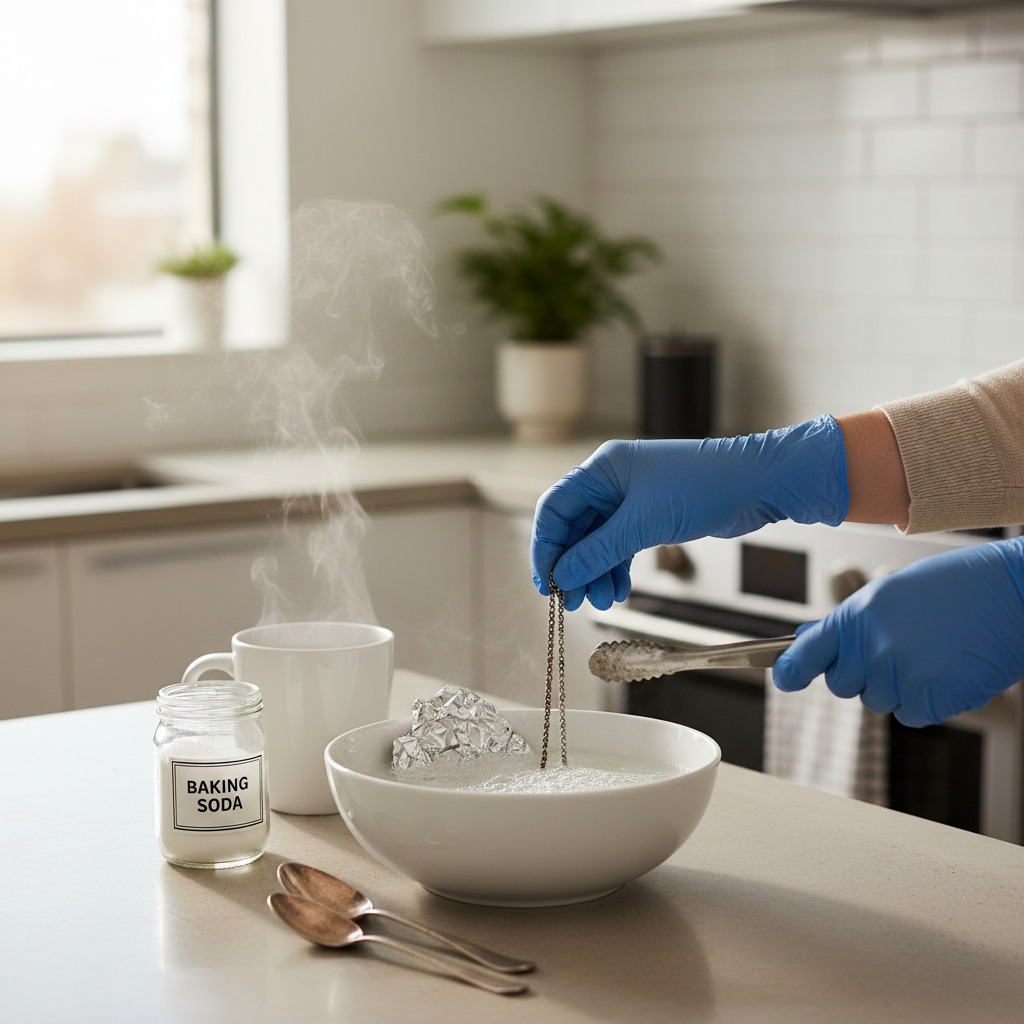
Method 3: Foil + baking soda (fast tarnish removal, but not for everything)
This method can remove heavy tarnish quickly, but it’s not a universal hack. It can be too aggressive for plated pieces, mixed-material jewelry, and items where you want dark patina to remain.
When it’s a reasonable choice
- Plain sterling silver chains, rings, and simple pieces with no delicate stones
- Items with widespread dark tarnish that would take forever by hand
What you need
- Aluminum foil
- A bowl (glass or ceramic is usually easiest)
- Baking soda
- Hot water (careful handling)
Steps
- Line the bowl with foil, shiny side up.
- Place silver so it touches the foil.
- Add 1–2 tablespoons baking soda, then pour in hot water to cover.
- Wait a short time, check progress, then remove.
- Rinse thoroughly, dry completely, then finish with a microfiber cloth.
According to the National Park Service (NPS), some traditional silver care practices can affect patina and finishes, so conservators typically recommend choosing the least aggressive method that achieves the goal.
Which method should you use? A quick comparison table
Use this as a practical shortcut. If you’re unsure, start gentle and move up.
| Method | Best for | Avoid when | Effort |
|---|---|---|---|
| Soap + warm water | Everyday grime, light dullness | Very delicate/glued stones (limit soaking) | Low |
| Silver polishing cloth | Quick shine, routine upkeep | Pearls/soft stones, oxidized “antique look” you want to keep | Low |
| Foil + baking soda | Heavy tarnish on sterling | Silver plated, mixed materials, fragile settings | Medium |
| Commercial silver cleaner | Stubborn tarnish (carefully) | Pieces with sensitive stones/finishes, if directions don’t match your jewelry | Low-Med |
Common mistakes that make silver look worse
- Over-scrubbing to “speed it up”: silver is soft, scratches flatten shine and can trap grime.
- Cleaning everything the same way: plated items and pearl pieces have different limits.
- Not rinsing well: cleaner residue can create a hazy look that feels like tarnish returning.
- Storing damp: moisture can accelerate discoloration and encourage buildup in links.
- Polishing away design oxidation: that dark contrast in grooves often belongs there.
Key takeaway: When people think cleaning “didn’t work,” it’s often residue plus light tarnish, and the fix is gentler, not harsher.
Keep silver shiny longer: storage and habit tips that actually help
Cleaning is one part. The other part is slowing the next round of tarnish.
- Store airtight when possible: small zip bags or anti-tarnish pouches reduce exposure to sulfur in air.
- Keep pieces separate: prevents scratches and tangling that leads to aggressive “rescue cleaning.”
- Remove before pools and hot tubs: chemicals can discolor or weaken components.
- Wipe after wear: a quick microfiber wipe removes lotions and sweat, which often cause that cloudy layer.
If you rotate jewelry, add a monthly “two-minute cloth polish” for your most-worn sterling pieces, it’s the easiest version of how to clean jewelry at home silver that still feels like it makes a difference.
When you should stop and ask a jeweler
At-home methods are great until the piece has structural issues. If any of these show up, a professional cleaning and inspection may cost less than repairing a mistake.
- Loose stones, bent prongs, or rattling sounds when you tap the piece lightly
- Heirloom or antique items with unknown finish or value
- Severe black tarnish in tight settings you can’t reach without force
- Any reaction on skin after wearing, which might indicate plating wear or metal sensitivity, a jeweler or clinician can advise depending on symptoms
Commercial dips and ultrasonic machines can be useful in the right hands, but they can also strip finishes or loosen stones, so it’s reasonable to get guidance when the piece matters.
Conclusion: a simple at-home routine that works for most people
For most silver jewelry, start with soap and warm water, dry well, then maintain shine with a silver cloth, it keeps you out of the “panic clean” cycle. Save the foil-and-baking-soda method for sturdy sterling pieces when tarnish gets genuinely heavy.
If you want one action today, pick your most-worn silver piece, do the gentle wash, then store it dry in a pouch or small bag tonight, that alone usually cuts down how often you need to clean again.
Key points to remember
- Gentle first, then escalate only if tarnish remains.
- Plated and pearl items need extra caution, avoid aggressive methods.
- Dry storage and quick wipe-downs extend shine more than people expect.