
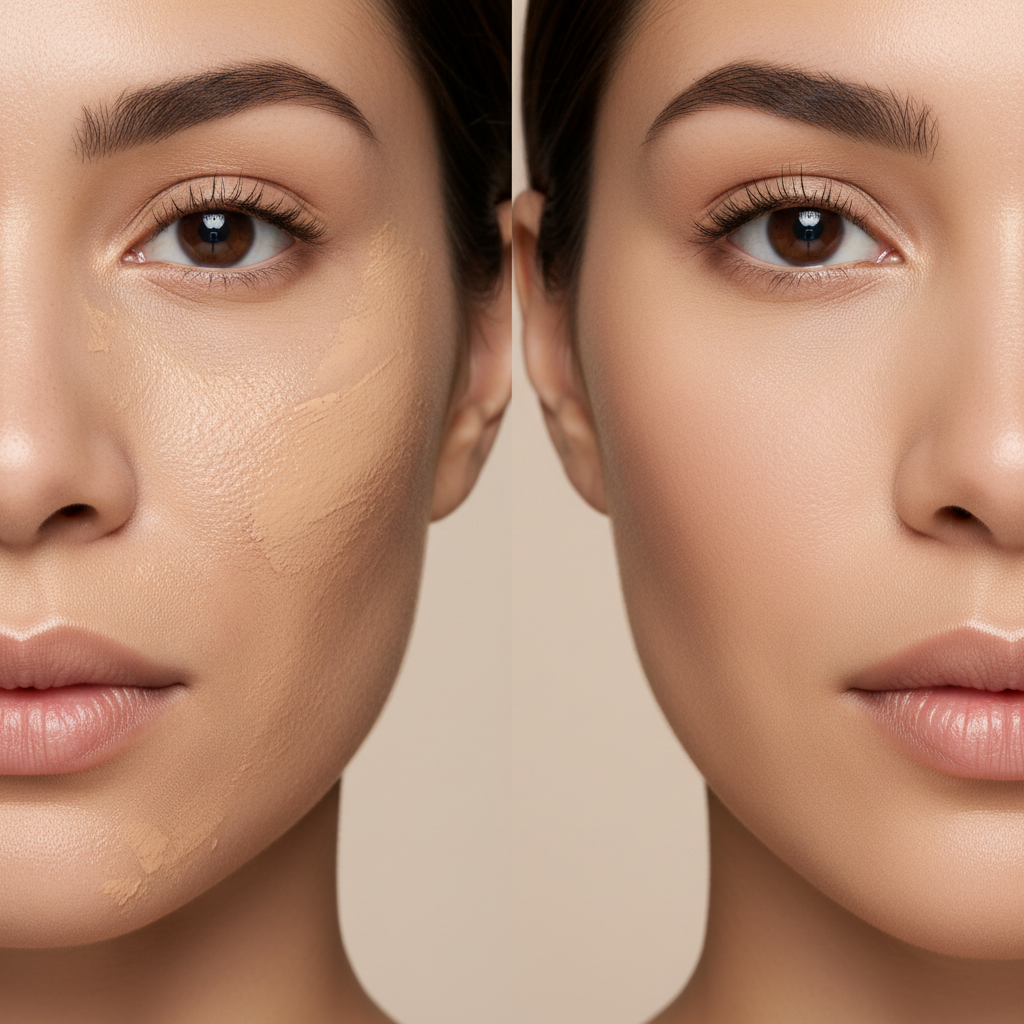
How to apply foundation without streaks usually comes down to two things people skip when they’re in a rush: even skin prep and the right amount of product in the right places.
Streaks are frustrating because they make good foundation look cheap, and they show up in the exact moments you don’t want to think about makeup, daylight, flash photos, or a quick bathroom mirror check.
This guide focuses on real-world fixes, how to choose between sponge and brush, what to do when texture grabs product, and how to keep the finish looking like skin instead of stripes.
Why foundation looks streaky in the first place
Streaks rarely mean you’re bad at makeup, they usually mean something in the chain is working against you, prep, product, tool, or timing.
- Too much product at once, thick layers dry down before you fully blend, especially on cheeks and jaw.
- Dry patches or leftover skincare, foundation clings to flaky areas or slips over oily sunscreen.
- Wrong tool for the formula, some brushes leave track marks in thicker liquids, some sponges drink up thin tints.
- Foundation setting while you’re still blending, common with matte or long-wear formulas.
- Color mismatch, not a “streak” technically, but the neck line reads as one.
According to the American Academy of Dermatology (AAD), daily sunscreen use matters for skin health, but the type of sunscreen and how it layers can affect how makeup sits, if you notice pilling or slipping, it’s often a layering issue, not your foundation.
Quick self-check: what kind of streaks are you seeing?
Before you change products, identify the pattern, it saves money and time.
| What you see | Most likely cause | Fastest fix |
|---|---|---|
| Brush lines on cheeks | Brush too sparse or too dry, formula too thick | Switch to denser brush or finish with a damp sponge |
| Patchy areas around nose/mouth | Dryness, irritation, or product buildup | Light exfoliation + richer moisturizer, use less foundation there |
| Foundation separating on T-zone | Oil + heavy layers, skincare not set | Blot, apply thinner layer, use targeted primer |
| Streak at jaw/neck | Shade mismatch or not blending down | Match to neck/chest, sheer out edges with sponge |
| Random streaks that appear later | Makeup mixing with oil/sweat, setting issues | Set lightly where needed, use setting spray after |
If you see multiple issues at once, start with prep and amount of product, those two fixes solve more than people expect.
Prep that actually prevents streaks (without turning into a 12-step routine)
If you want to know how to apply foundation without streaks, treat prep like you’re building a smooth canvas, not a slippery one.
Do this 5-minute baseline
- Cleanse lightly so you don’t have residue, but avoid harsh stripping right before makeup.
- Moisturize strategically, a thin layer everywhere, a second small tap only on dry zones.
- Wait a beat, give skincare a couple minutes to settle so foundation doesn’t skate.
- SPF, then reassess, if your sunscreen stays tacky, apply less or let it set longer.
When you should exfoliate (and when you shouldn’t)
Light exfoliation can reduce flake-grab streaks, but overdoing it can make makeup cling worse because the skin barrier gets irritated. If you have sensitive skin, active acne, or eczema, it may be smarter to talk with a dermatologist before using stronger acids or scrubs.
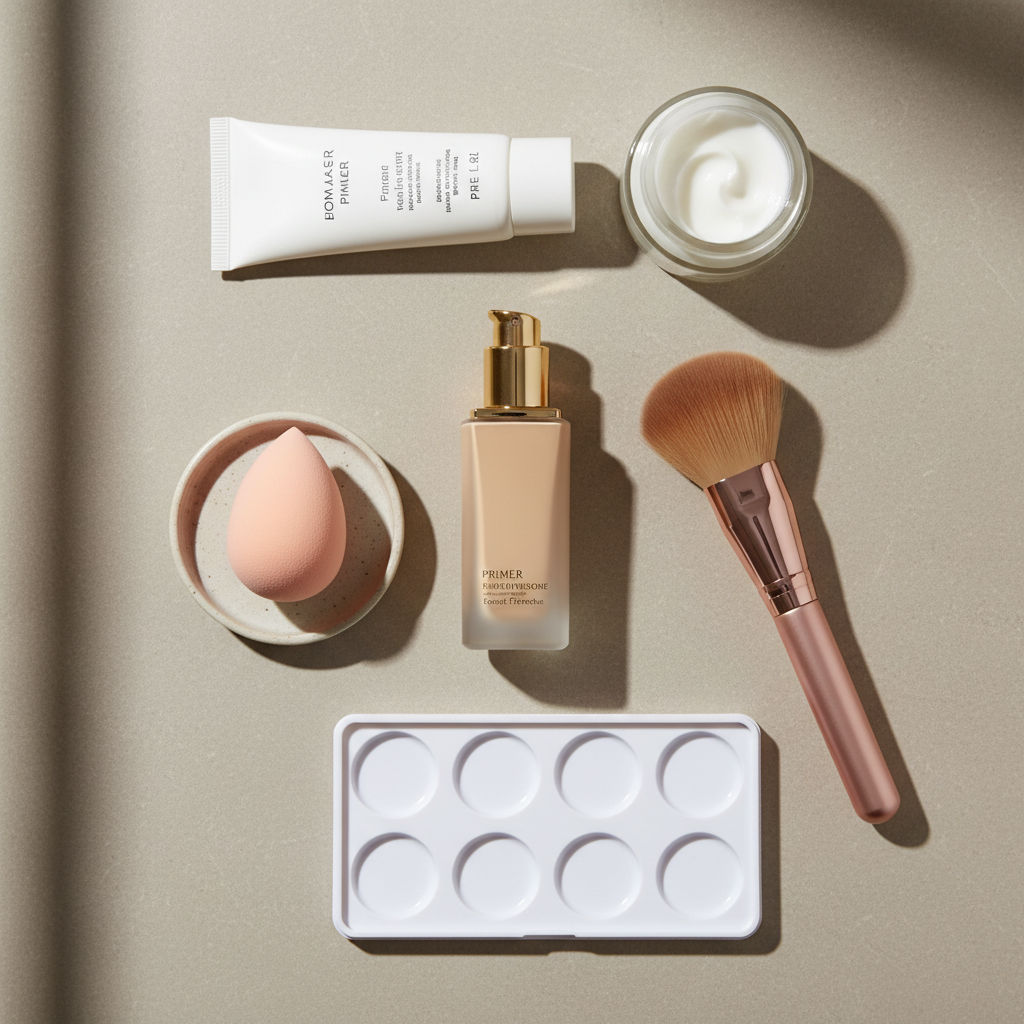
Pick the right tool: brush vs sponge vs fingers
Tools don’t just change coverage, they change how likely you are to see lines.
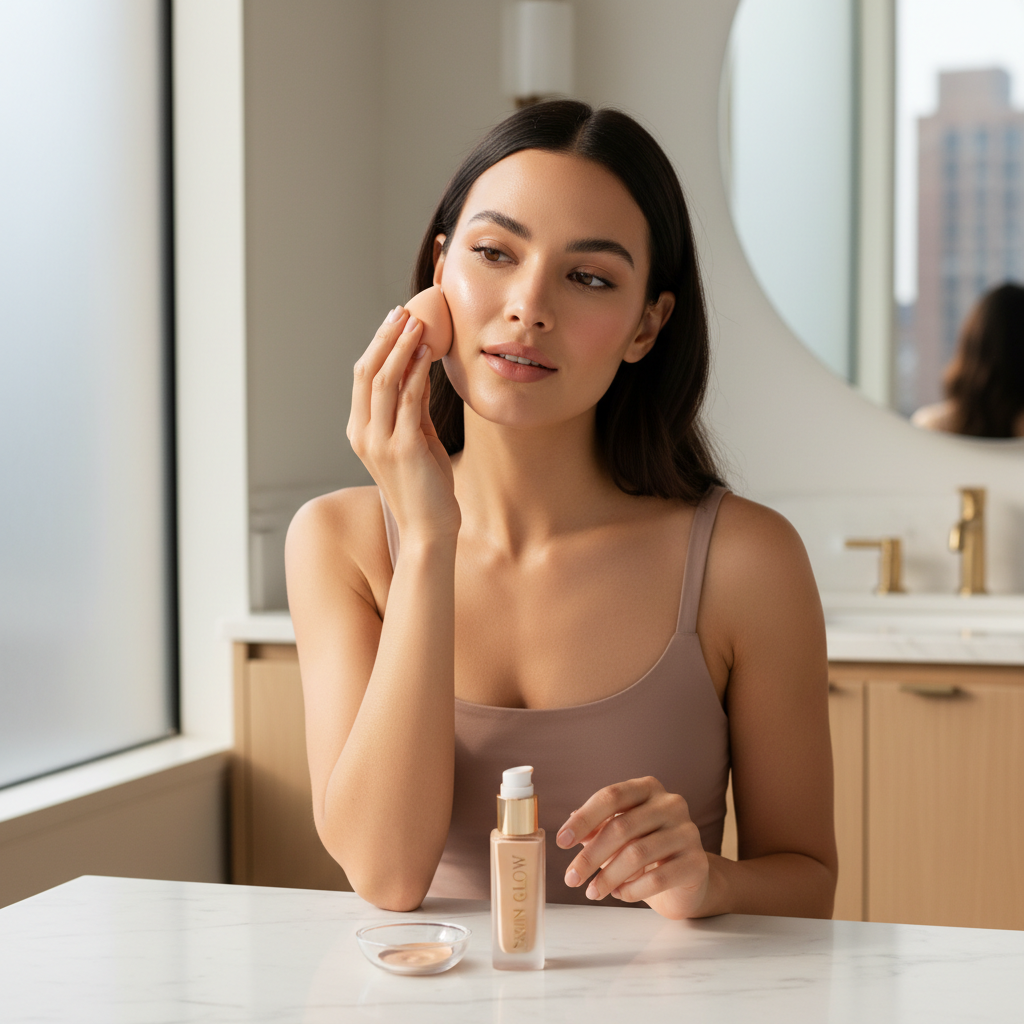
- Damp sponge: best for soft, seamless edges and quick touch-ups, great for beginners, can sheer coverage.
- Dense buffing brush: best for medium-to-full coverage and speed, can leave tracks if the brush is scratchy or you drag it.
- Fingers: underrated for skin tints and serum foundations, warmth helps melt product, but wash hands and keep pressure light.
If streaks happen with a brush, the fix is often simple: use smaller amounts, tap and swirl lightly, then press over everything with a damp sponge to erase brush marks.
Step-by-step: how to apply foundation without streaks
This is the routine that tends to work across most skin types because it’s built around thin layers and controlled blending.
1) Start with less than you think
Put a small amount on the back of your hand or a palette, not straight on your face, that single change prevents accidental over-application.
2) Place product where you need it most
- Center of face: around nose, inner cheeks, chin
- Blend outward: toward hairline and jaw with less product on the tool
3) Use the right motion for the tool
- Sponge: press and bounce, don’t wipe, wiping creates lines.
- Brush: small circles to buff, then short gentle strokes to smooth, avoid long drags.
4) Work in sections before it sets
On fast-drying formulas, do one cheek at a time, then forehead, then chin. If you apply all over first, you’re racing the dry down.
5) Blur the edges
Take whatever is left on your tool and feather it along the jaw and a little onto the neck. If the shade match is right, this looks invisible, if it’s off, it at least softens the line.
Key point: If you can still see your skin a little after the first pass, you’re doing it right, you can always add more, but it’s hard to un-cake.
Fix streaks after they happen (without restarting your whole face)
Realistically, streaks show up when you change lighting, or 20 minutes later when everything settles. You don’t need to remove everything.
Quick rescue options
- Patchy dry spot: tap a pinhead of moisturizer on fingers, press into the spot, then tap a tiny bit of foundation over it.
- Brush lines: press with a clean damp sponge to re-melt and merge the product.
- Too much product in one area: use the sponge alone to lift excess, then re-blend edges.
- Separation on oily areas: blot first, then apply a thin layer just where needed, set lightly.
A common mistake is adding more foundation over texture without fixing the underlying slip or dryness, it usually doubles the streakiness.
Set it so it stays smooth (and doesn’t turn powdery)
Setting is where a lot of good applications get ruined, too much powder can emphasize lines and texture, too little can let makeup move.
- Use powder only where you get shiny, typically T-zone and around the nose.
- Press, don’t sweep, a puff or a soft brush pressing motion keeps coverage even.
- Setting spray as a finisher, a light mist can help powders look less dry and more skin-like.
According to the U.S. Food and Drug Administration (FDA), makeup and skincare can have shelf lives and contamination risk after opening, so if a sponge smells off or a foundation has changed texture, swapping it out can be more than a cosmetic choice.
Common mistakes that quietly create streaks
If you’re stuck, check these before you buy a new foundation.
- Applying over damp skincare, especially rich creams and some sunscreens.
- Using a dry sponge, it tends to drag and skip, especially on cheeks.
- Not cleaning tools enough, buildup makes brushes stiff and patchy.
- Mixing too many layers, primer + heavy foundation + heavy concealer + lots of powder can separate.
- Chasing full coverage everywhere, most faces look smoother with targeted coverage.
When it’s worth getting pro help (or switching products)
If you consistently get patchy, irritated areas where foundation breaks apart, it might not be technique. Skin conditions like dermatitis, rosacea, or an impaired barrier can make product sit unevenly, and a dermatologist can help you rule out triggers and choose gentler options.
It’s also reasonable to switch formulas if you’ve nailed your routine but the foundation dries down too fast or clings no matter what, some long-wear mattes just fight certain skin types.
Conclusion: the simplest routine that keeps foundation smooth
Most people master how to apply foundation without streaks when they commit to thinner layers, let skincare set, and use a tool motion that presses product into skin instead of dragging it across.
If you want a quick next step, try this tomorrow: apply half the amount you normally use, blend one section at a time, then press over everything with a clean damp sponge, it’s one of the most reliable ways to get a more even, skin-like finish.