
How to apply false eyelashes easy starts with one mindset shift, you’re not “sticking on lashes,” you’re placing a thin band as close to your lash line as you comfortably can, with the least glue possible.
If false lashes feel tricky, it’s usually not your hands, it’s the setup, wrong size, tackiness timing, and placement angle make even “easy lashes” feel impossible. Once you control those three, application gets calmer and faster.
This guide keeps it practical: what to prep, how long to wait for glue, where to place the band, and what to do when corners lift. You’ll also get a quick self-check list and a small troubleshooting table, so you can stop guessing mid-application.
What makes false lashes feel hard (and what “easy” really means)
Most people think they need better technique, but they often need better fit. A lash band that’s too long will poke your inner corner, then you compensate by placing it too low, then it looks obvious, and the whole thing spirals.
“Easy” usually means three things: the lash fits your eye width, the adhesive hits the right tacky stage, and you place from the top down rather than pushing upward from under the lashes.
- Fit issue: band too long or too stiff, corners lift even with good glue.
- Timing issue: glue still wet, lash slides around and ends up crooked.
- Placement issue: band sits on your lashes instead of your lash line, causing gaps.
According to the American Academy of Ophthalmology, eye makeup and contact practices matter for irritation prevention, so if your eyes get red, itchy, or watery, treat comfort as a priority, not an afterthought.
Quick self-check: which situation are you in?
Before you rewatch another tutorial, take 20 seconds and identify what’s actually going wrong. It changes what you should fix.
- Your lashes look fine, but corners pop up: likely fit or not enough tackiness at the ends.
- The band shows as a thick black line: band placed too low, or glue applied too heavily.
- Lash feels pokey or scratchy: inner corner too long, band not trimmed or not bent to shape.
- One eye looks higher than the other: you’re placing without a stable mirror angle, or using too much pressure.
- Lash won’t stick at all: oily lid, old glue, or glue never got tacky.
If you want the “how to apply false eyelashes easy” version, you’re aiming for the smallest set of moves that consistently solves your specific issue, not a ten-step ritual.
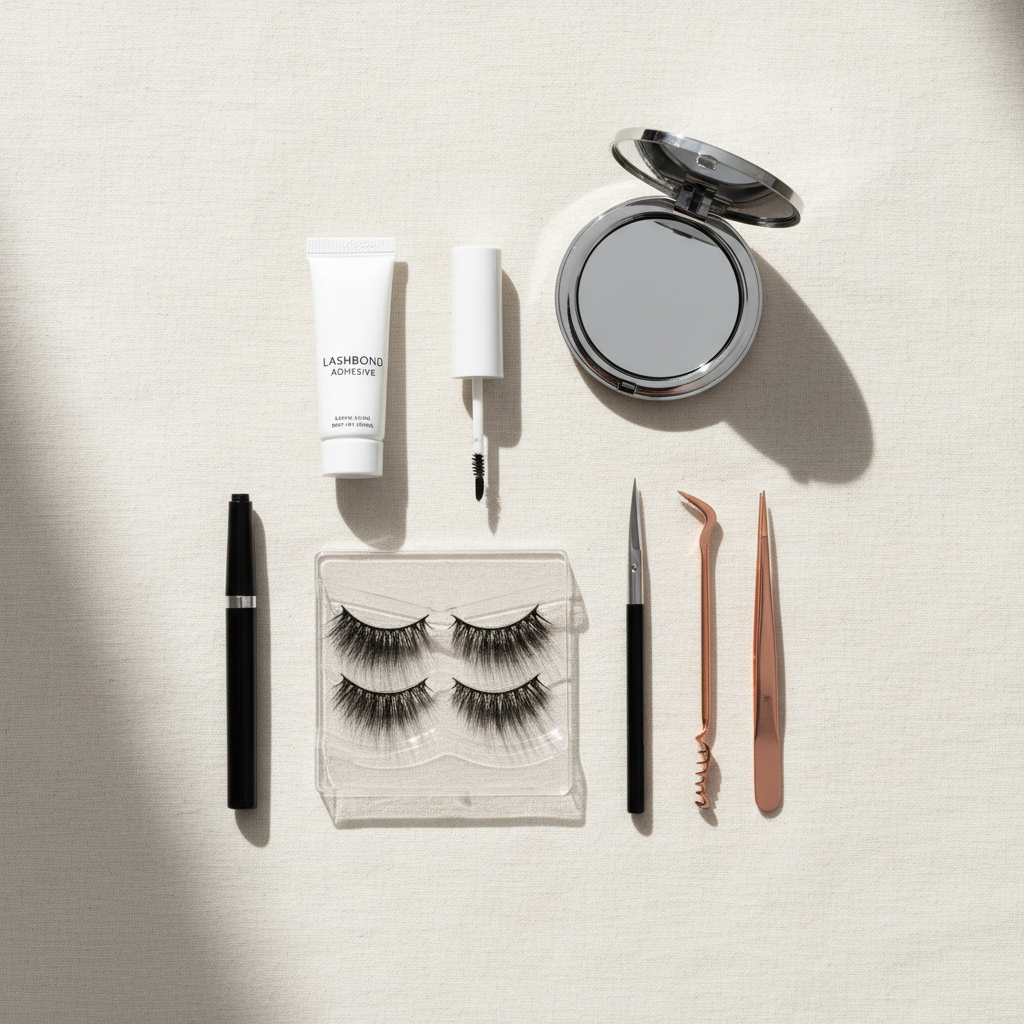
Prep that actually matters (skip the fluff)
You don’t need a full glam routine, but you do need a clean, steady base. The goal is reducing slip so the band stays where you place it.
- Clean and dry lid: if you use skincare or sunscreen near the eyes, blot the lash line.
- Light liner helps: a thin line hides micro-gaps, especially for beginners.
- Curl lashes (optional but helpful): helps your natural lashes meet the strip.
- Maskara comes after placement for many people: less clumping while you position the band.
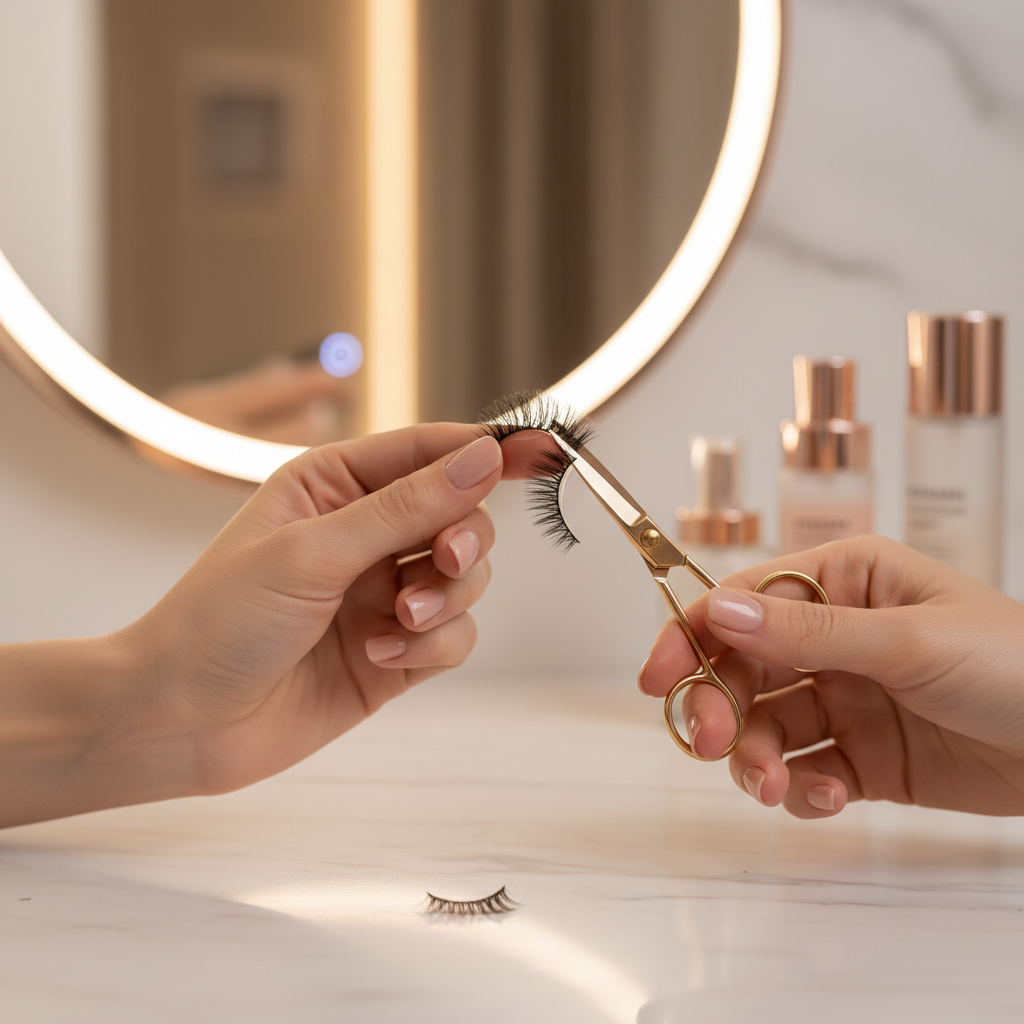
Fit check, place the strip against your lash line with no glue, if it extends past your outer corner, trim from the outer end in small cuts. Many lashes look more natural that way, since inner fibers often taper shorter.
The easiest step-by-step to apply strip lashes
How to apply false eyelashes easy is mostly about order. This sequence avoids the most common “floating lash” problem.
1) Shape the band first
Gently bend the strip around your finger or a makeup brush handle, especially if the band feels stiff. You’re pre-training the curve so it hugs your lid instead of fighting you.
2) Apply a thin, even layer of glue
Run glue along the band, then add a tiny extra dot on each end. If glue blobs, the lash can sit too far from the lash line and look thick.
3) Wait for the tacky stage
This is where most “it won’t stick” moments come from. Wait until the glue looks slightly glossy rather than wet. The exact time varies by formula and room humidity, so watch the texture more than the clock.
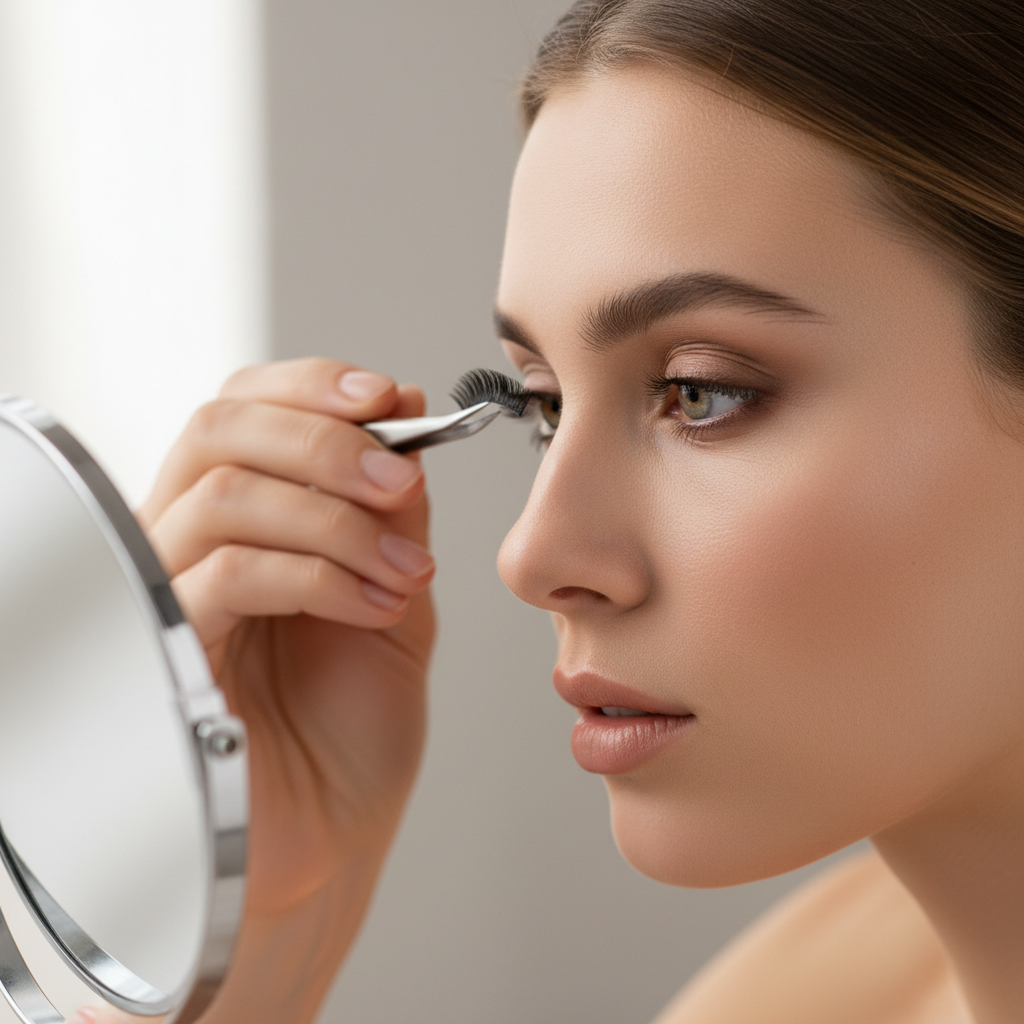
4) Place the middle first, then secure the ends
Look slightly downward into a mirror set below your chin level, then place the center of the band onto the lash line, after that, press the outer corner, then the inner corner.
- Tool tip: a lash applicator or angled tweezers gives better control than fingers.
- Pressure tip: press down toward the skin, not up into the lashes.
5) Fuse the strip with your natural lashes
After the band sets, gently pinch strip lashes and natural lashes together with clean fingers or a tool. If you want, add a light coat of mascara to blend, but keep it minimal to protect the lash fibers.
Troubleshooting table: fix issues in under a minute
When things go sideways, resist the urge to rip it off immediately. Small adjustments usually work better than a full restart.
| Problem | Likely cause | Fast fix |
|---|---|---|
| Inner corner lifting | Band too long, not enough tack at tip | Trim 1–2 mm from inner/outer (prefer outer), add a micro-dot of glue, hold 10 seconds |
| Outer corner lifting | Band too straight or oily lid | Pre-bend the band, blot lash line, add extra glue to outer edge only |
| Lash looks crooked | Placed while glue still wet | Remove gently, reapply thinner glue, wait for tackiness, place center-first |
| Band looks obvious | Placed too low, too much glue | Nudge band closer to lash line with applicator, add thin liner to camouflage |
| Feels pokey | Inner edge sharp or misaligned | Re-seat inner corner slightly outward, file band edge lightly, switch to softer band style |
If you’re practicing how to apply false eyelashes easy, keep one “rule” in mind, you can fix most lifts by adding a tiny amount of glue with a clean tip and holding the corner, flooding the whole band rarely helps.
Practical upgrades that make it feel easier (without changing your whole routine)
Once you can place a strip, these tweaks reduce daily effort. Not mandatory, but they’re the difference between “I can do it” and “I can do it fast.”
- Choose a thinner band: many people find it more forgiving and less visible.
- Try half lashes: easier placement, flattering lift, fewer inner-corner issues.
- Use a liner guide: a thin eyeliner line gives you a target to place against.
- Keep a mini mirror low: angle matters more than people admit.
- Use fresh glue: older glue can thicken, string, and lose grip.
If your eyes water a lot, a gentler adhesive and shorter wear time may help, and if you have sensitive eyes or a history of reactions, it’s reasonable to ask an eye care professional or dermatologist what ingredients to avoid.
Common mistakes that waste time (even when your lashes look okay)
Some habits don’t look “wrong” in the moment, but they make removal harder, shorten lash lifespan, or irritate the eye area.
- Applying glue onto your eyelid: it can get messy fast, and placement becomes harder to control.
- Skipping the dry fit: untrimmed lashes often fail at the corners.
- Pressing too hard: your lash line gets uncomfortable, and the band may bend oddly.
- Removing by pulling: increases risk of losing natural lashes, soften glue first.
- Wearing lashes through eye irritation: discomfort is your cue to stop, not push through.
According to the U.S. Food and Drug Administration, cosmetics can cause adverse reactions for some users, so if you notice swelling, burning, or persistent redness, discontinue use and consider seeking medical advice.
Conclusion: your “easy” routine in 60 seconds
If you want how to apply false eyelashes easy to feel real, focus on three moves, trim to fit, wait for tackiness, place center-first with a downward mirror angle. That combo solves most beginner frustration without extra products.
Action step for your next try: do one dry fit and one practice placement with no mascara, then take a quick photo, you’ll spot misalignment faster than in the mirror, and your second attempt usually improves immediately.