
how to polish leather shoes at home comes down to a simple rhythm: clean first, add thin layers, and buff patiently until the finish looks even, not greasy.
If you have ever ended up with cloudy patches, dark fingerprints, or polish that rubs off on socks, it usually is not because you bought the “wrong” brand, it is because one step got skipped or rushed.
This guide walks through a reliable at-home method that works for most smooth leather dress shoes and boots, plus quick ways to troubleshoot scuffs, salt stains, and dull toes.
What you need (and what you can skip)
You can get a good shine with minimal gear, as long as each item does one job well. Fancy kits are fine, but they are not required.
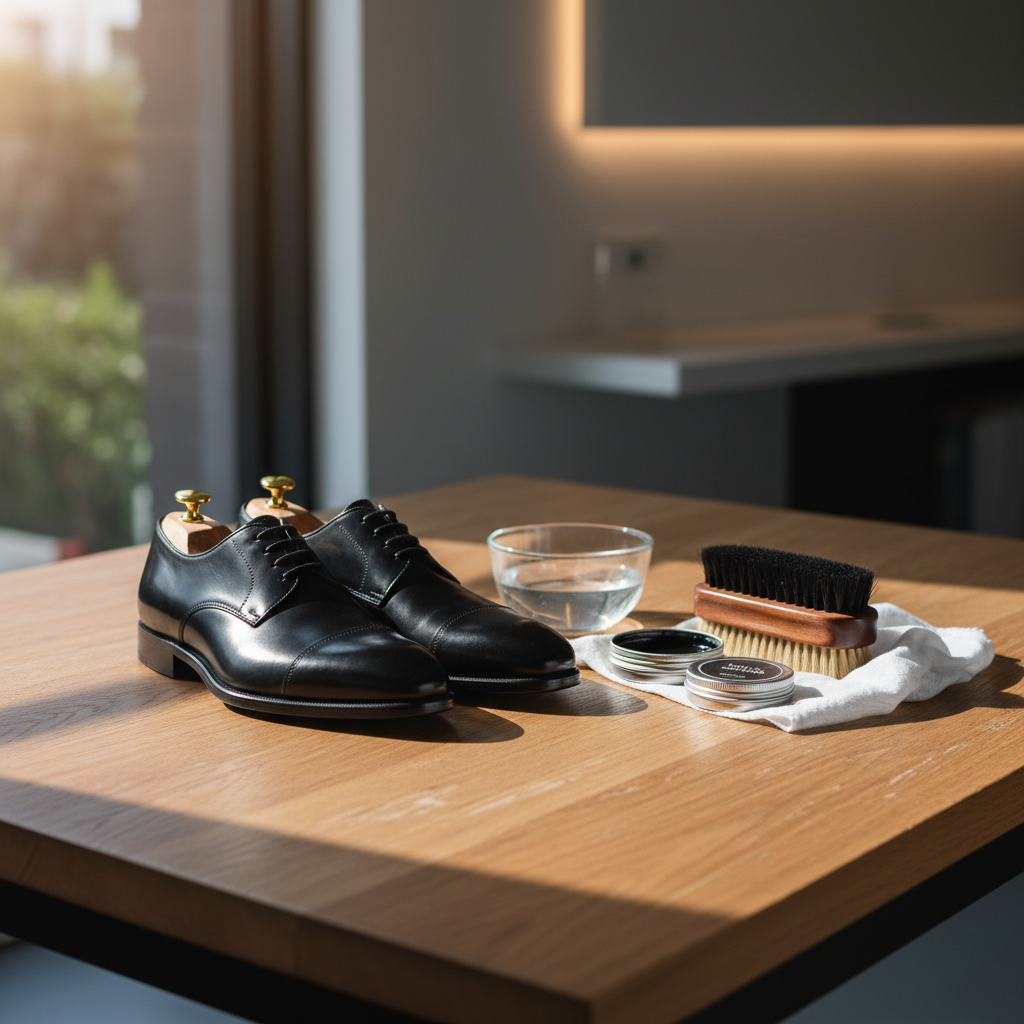
Basic home kit
- Horsehair brush for daily dust-off and buffing
- Soft cotton cloth or an old T-shirt for applying polish
- Leather conditioner (occasionally) to prevent drying and cracking
- Wax polish for shine and light protection
- Cleaner or saddle soap for deeper grime, used sparingly
- Shoe trees (cedar if possible) to hold shape while you work
Nice-to-have extras
- Small bowl of water for final buffing
- Toothbrush or cotton swabs for edges and welts
- Edge dressing if the sole edges look chalky
Skip harsh household cleaners and anything with heavy solvents unless the product is clearly labeled for leather footwear. According to the American Academy of Dermatology Association, contact with certain chemicals can irritate skin, so wearing gloves is a reasonable idea if you are sensitive.
Before you polish: identify your leather and your goal
Most people search how to polish leather shoes at home when they want “shine,” but shine means different things depending on leather type and occasion.
Quick check: what kind of leather is this?
- Smooth leather (calf, corrected grain): responds well to conditioner + wax polish
- High-shine or patent: do not wax polish, use a patent-specific cleaner
- Suede or nubuck: do not use wax polish, use a suede brush and spray protector
- Pull-up/oiled leather: often looks best with conditioning, not heavy waxing
If you are unsure, test any product on a small, less-visible area near the heel. Color darkening is common with conditioners, and that may or may not be what you want.
Step-by-step: how to polish leather shoes at home (reliable routine)
This routine aims for a clean, even shine that holds up for typical office wear, dinners, interviews, and events.
1) Remove laces and dry brush
Take laces out so polish does not cake in eyelets, then brush the whole upper for 30 to 60 seconds to remove grit that can scratch during buffing.
2) Clean only as much as needed
If the shoes are just dusty, you can move on. If they have old buildup, sticky spots, or city grime, use a small amount of leather cleaner on a cloth and wipe gently.
- Let the shoe dry a few minutes before adding any product
- Avoid soaking seams, especially around the toe box
3) Condition lightly (not every time)
Conditioner is for leather health, not shine. Use a thin layer, let it sit briefly, then brush off excess so the surface feels dry, not slick.
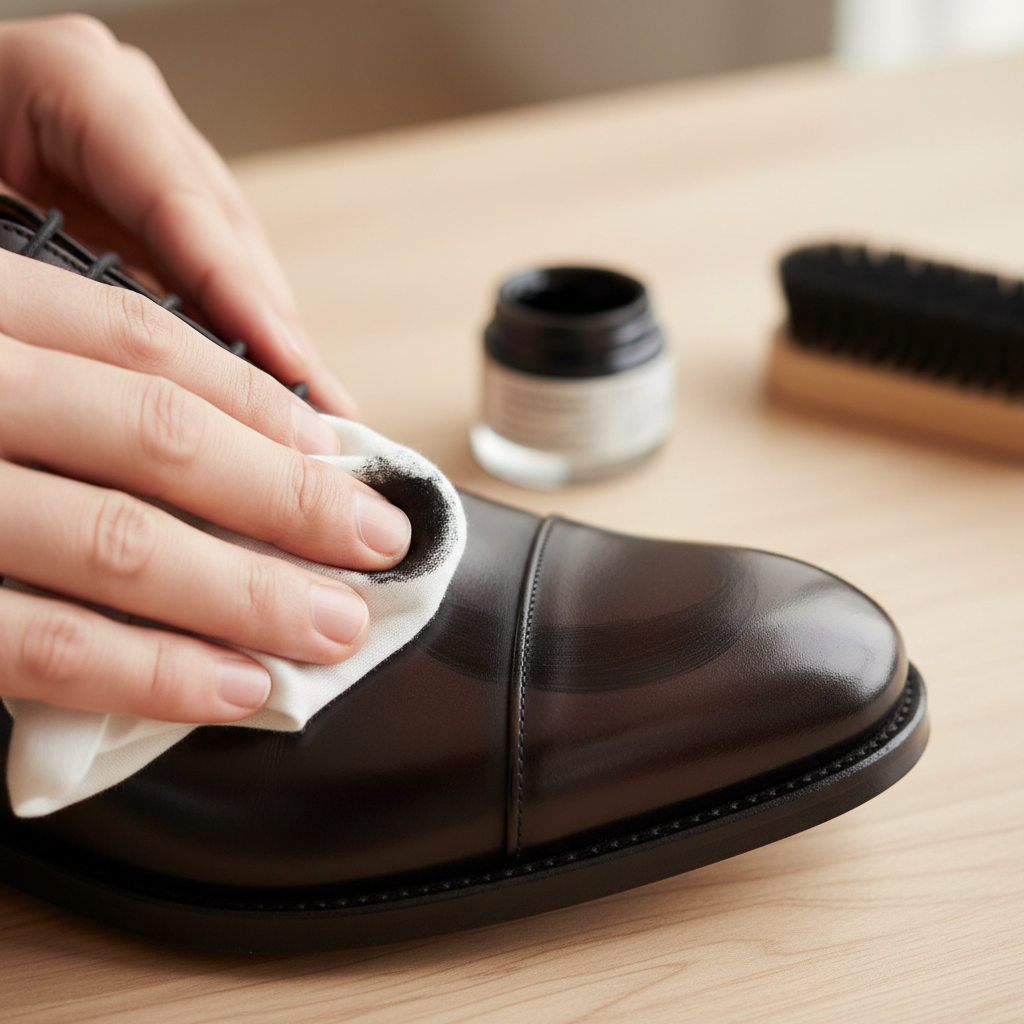
4) Apply wax polish in thin coats
Wrap a cloth around two fingers, pick up a small amount of polish, then work in small circles. Thin wins here because thick layers are what create smears and gummy shine.
- Start with toes and heels, since those show wear first
- Keep polish away from fabric panels and elastic gores
- Let it haze for a few minutes
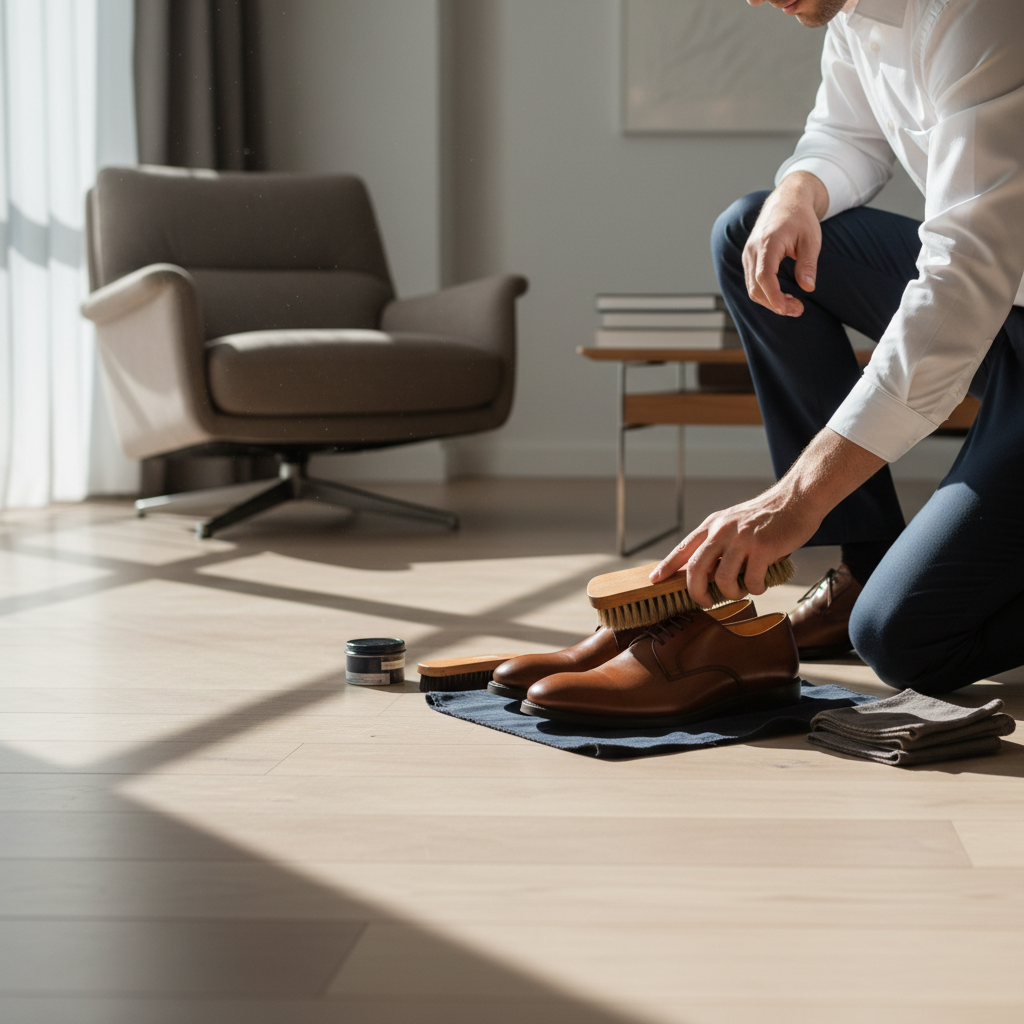
5) Brush buff, then cloth buff
Brush briskly with a horsehair brush until the shine looks even, then finish with a clean cloth for a sharper gloss. If you stop after applying polish, you get dull patches, that is normal.
6) Optional: quick “spit shine” style finish (gentle version)
Dab the cloth with a tiny bit of water and do light circular passes on the toe. This helps smooth wax for a dressier look, but too much water can make the finish cloudy.
A simple schedule: what to do weekly vs. monthly
Over-polishing is real. Shoes can look worse when layers build up, especially around creases.
| Task | How often (typical) | Why it matters |
|---|---|---|
| Dry brush + wipe | After each wear or weekly | Prevents grit from grinding into leather |
| Wax polish (thin coat) | Every 2–6 wears | Restores color, adds shine and light protection |
| Condition | Every 4–8 weeks | Helps reduce drying and cracking risk |
| Deep clean / strip buildup | As needed | Fixes dull, sticky, or uneven finish |
Humidity, rain, and how hard you are on shoes changes the timing. If the leather feels dry or looks ashy, condition; if it feels tacky, you probably need less product, not more.
Fixes for common problems (scuffs, salt, dull toes)
Most at-home polishing “fails” are easy to reverse if you address the cause instead of piling on more wax.
Scuffs and light scratches
- Brush first, then buff with a clean cloth
- Add a small amount of matching cream or wax, then brush again
- If the scuff is pale, it may be leather fibers lifting, go gentle
Salt stains (winter sidewalks)
Wipe with a barely damp cloth, then dry. If stains persist, a diluted vinegar-and-water wipe is often suggested, but leather can react unpredictably, so spot-test and use minimal moisture.
Cloudy or streaky shine
- You likely used too much polish or did not let layers haze
- Brush longer than you think, friction is part of the finish
- If buildup is heavy, use a leather cleaner sparingly and restart with thin coats
Key mistakes that waste time (and how to avoid them)
A polished shoe is mostly boring consistency. The mistakes usually come from trying to “hack” the shine.
- Using thick layers: causes tackiness, streaks, and dust sticking to toes
- Conditioning every time: can soften leather too much and reduce crisp shine
- Skipping the brush buff: leaves wax sitting on top rather than leveling out
- Mixing colors casually: black over brown can muddy tone, neutral is safer if unsure
- Polishing dirty shoes: grinds grit in, which may create tiny scratches
According to the Leather and Hide Council of America, leather care typically emphasizes gentle cleaning and appropriate conditioning to support longevity, which matches what you see in good shoe-care routines.
When it makes sense to get professional help
Home care covers most situations, but a cobbler earns their keep in a few scenarios.
- Deep cracks, peeling finish, or leather that feels stiff even after light conditioning
- Major color loss where you need dye work, not just polish
- Loose soles, separated welts, or heel blocks wearing unevenly
- Water damage with rippling or lasting stains
If you are dealing with moldy odor or severe contamination, consider professional cleaning and follow local safety guidance, some products can trigger irritation or breathing discomfort in sensitive people.
Practical wrap-up and what to do next
Once you learn the pace, how to polish leather shoes at home becomes a 10 to 15 minute habit, brush off dust, apply thin wax, buff until the shine looks calm and even, then stop before you chase perfection.
If you want a simple next step, set a timer for buffing and use less polish than you think you need, those two changes fix most streaky results.